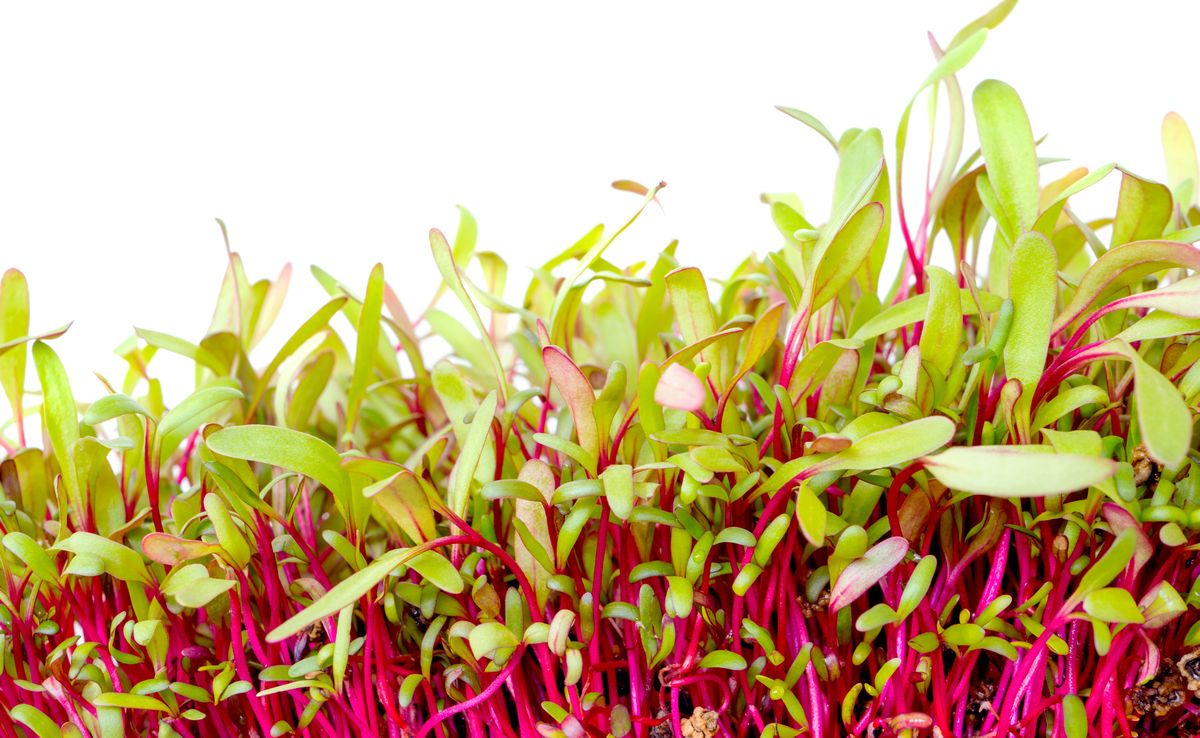
With microgreens, fresh green plant power simply shoots up right on your window ledge. The tender seedlings are filled with the compact power of a growing plant and provide us with a bunch of valuable nutrients. If you’re asking yourself how they’re different to sprouts and how you can grow them yourself, you will find the answers here
What are microgreens?
 Microgreens sound really trendy – but what are they exactly? Microgreens are the fast-growing seedlings of various herbs and vegetables. They can easily be grown in little bowls filled with soil on a balcony or window ledge. The harvest can begin after just one week. Simply snip off the microgreens and throw them in a sandwich, in a salad or in a smoothie. Tasty, aromatic and nutritious all at once!
What is the difference between microgreens and sprouts?
If you’re thinking to yourself: this isn’t anything new, it’s just that they used to be called ‘sprouts’ – you’re not entirely wrong. But there are small, subtle differences. Sprouts are often grown without soil and sometimes without light. Sprouts are harvested and eaten after just a few days, once the seed leaves have developed. At this stage, they have not yet developed any green chlorophyll and are often pale yellow.
In contrast, microgreens grow in soil and are given light. This is what allows them to become so juicy and green, as the name implies. Their growth phase lasts around ten days, after not only the seed leaves but also the first real pair of leaves have developed.
| Differences between microgreens and sprouts |
||
| Characteristics | Microgreens | Sprouts |
| Seed base | with soil (or grow pads) |
no soil |
| Light | with light | possibly without light |
| Growth phase | 1-2 weeks | 2-4 days |
| Leaves | seed leaves + one pair of leaves | only seed leaves (cotyledones) |
| Color | green | pale yellow |
Seedlings provide valuable nutrients, vitamins and a lot of flavour
For seedlings to become big, strong plants, they have to be packed full of rich nutrients. When sprouting, fats from the seeds are broken down and water is stored, reducing the calorie content. Some problematic substances such as phytic acid, trypsin inhibitors and hemagglutinins are partially broken down. The minerals from the seeds are joined by other minerals from the soil and water. Vitamins can also develop during sprouting. Thus, nutritious little low-calorie power plants with a concentrated flavor are formed.
Use in the kitchen

Microgreens taste crisp and fresh and can range from mild and aromatic to spicy and sharp, according to type. They can liven up salads, herb quark or burgers and are great as decorative, aromatic toppings on dishes and soups. They give smoothies, pesto and vegetable dishes a special punch of flavor and a crisp bite. A colorful mix of microgreens on the window ledge can be used to pimp up any meal with fresh flavors and plenty of nutrients.
Grow your own microgreens – it‘s that easy
You don’t need a green thumb or much space to grow microgreens yourself. Simply fill shallow little bowls with compost or potting compost. Plant the seeds close together and press them down lightly. Dampen them well using a spray bottle and keep them all equally damp. However, ensure they aren’t too damp, otherwise they’ll go moldy. Place the bowl in a warm, bright place out of direct sunlight. Once the seed leaves and first true leaves have developed, harvest can begin.
These seeds are suited to being grown as microgreens:
cress, watercress, mustard, radishes, horse radish
basil, dill, cilantro, chervil, mint
leaf lettuce, arugula, spinach, bok choi
broccoli, cauliflower, red cabbage, beans, beets
buckwheat, amaranth
Note: Since everyone’s health history and nutritional needs are so different, please make sure that you talk with your doctor and a registered dietitian to get advice about the diet and exercise plan that‘s right for you.

